Step 8: Absence types
The step contains options for defining types of absences available in a process.
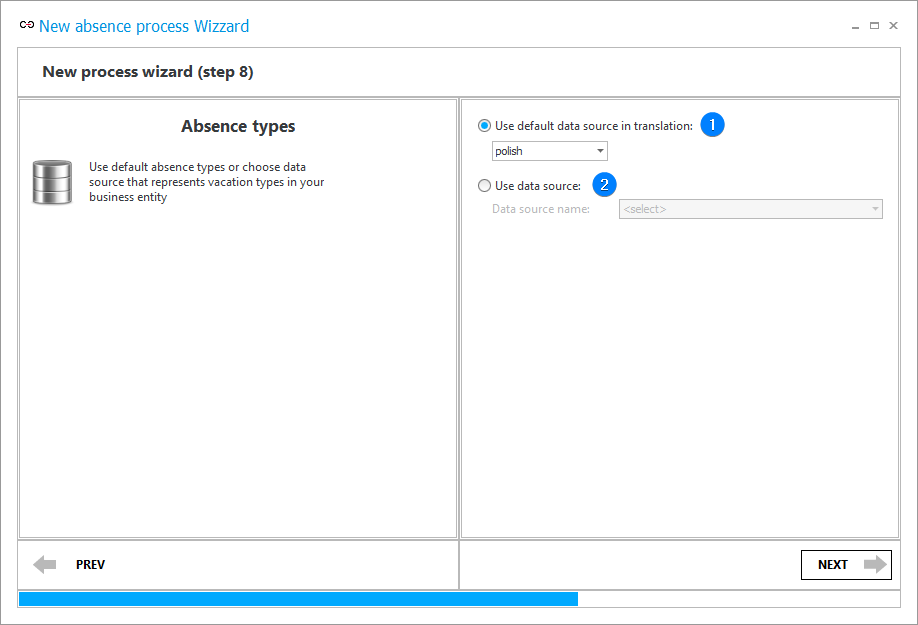
1. Use default data source in translation
The option allows you to select one of the two system data sources of leave types. For the Polish language, it is the DefaultVacationTypesPL source which includes the following leaves: Holiday, On demand, and Personal. For the English language, the source is DefaultVacationTypesEN which includes leaves called Vacation and Personal.
2. Use data source
This option allows you to select an existing data source or create a new source using the data source wizard.