HTML
The form field allows you to insert custom elements in the HTML language on the form such as buttons, custom choice fields or custom form data presentation. Configuration of the HTML form field enables defining code independently for the edit mode and for read-only mode.
With the HTML form field you can use all the HTML tags, yet the most effective method is to use it together with new form rules in the JavaScript mode.
To access additional configuration options press the Advanced configuration button located in the bottom, right corner. The options are provided under two tabs, i.e. General and Appearance.
The application designer takes full responsibility for functionality, performance and security of the embedded HTML. Incorrect HTML code embedded in the form field may affect the displaying and operations of other form fields and its readability on mobile devices.
For more information on form fields visit the following WEBCON Community websites::
Advanced configuration
The window provides access to multiple advanced configuration options. The window is divided into two tabs: General and Appearance.
General
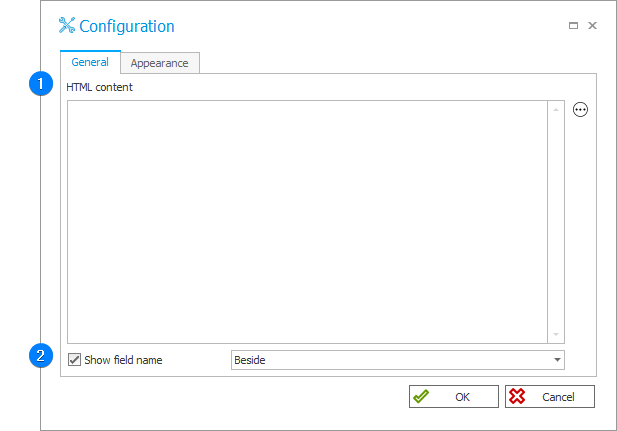
The tab contains a number of advanced configuration options for the form field.

1. HTML content
The field allows you to enter the HTML code. An example of a code that adds a button:
<div style=”text-align: right;”>
<button style=”background-color:#ffb74d;” onclick=””>Button text
</button>
</div>
2. Show field name
The checkbox allows you to determine whether the form field name is to be displayed. Selecting the checkbox activates the drop-down list on the right where you can specify the location of the form field name (Beside or Above).
Appearance
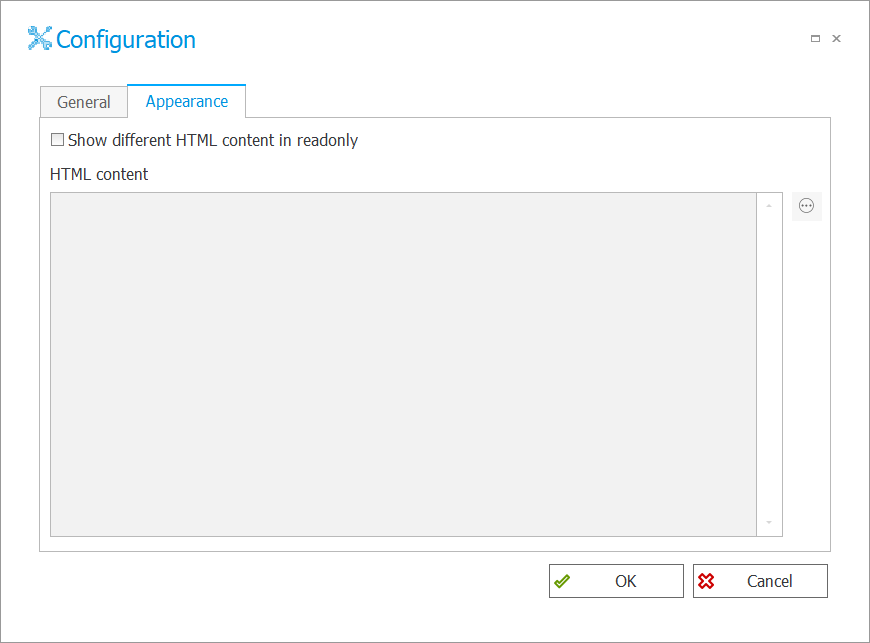
The tab allows user to configure appearance of the form field.

To show different content on the form when the Read-only option is selected on the Field matrix, select the Show different HTML content in readonly option and fill in the HTML content field.
If this field is empty, the HTML form field is not displayed on the form (if this option is selected).
Example�
Adding custom buttons