Workflows
Workflows define the flow of tasks and instances in the system. They allow you to plan steps, design paths between them, configure the form behavior for individual steps, as well as define form appearance both globally and on particular steps.

To configure a workflow correctly:
- define steps in the workflow,
- define paths between the steps,
- define tasks for individuals on steps,
- define form fields, their availability, visibility, requiredness, and order on individual steps. The field order and availability can be defined both globally for the whole workflow and individually for each step,
- choose which form types are to be linked with a given workflow. Then it will be possible to create a new form type and start it in a given workflow.
Additionally, you can define actions that are to be performed at different stages of the workflow. Workflow can also be further structured by dividing it into Phases and designating persons (so-called Actors) responsible for performing tasks at its various stages.
One process can have many defined workflows. A workflow can be associated with several form types, and one form type can be associated with a number of workflows.
Workflow configuration
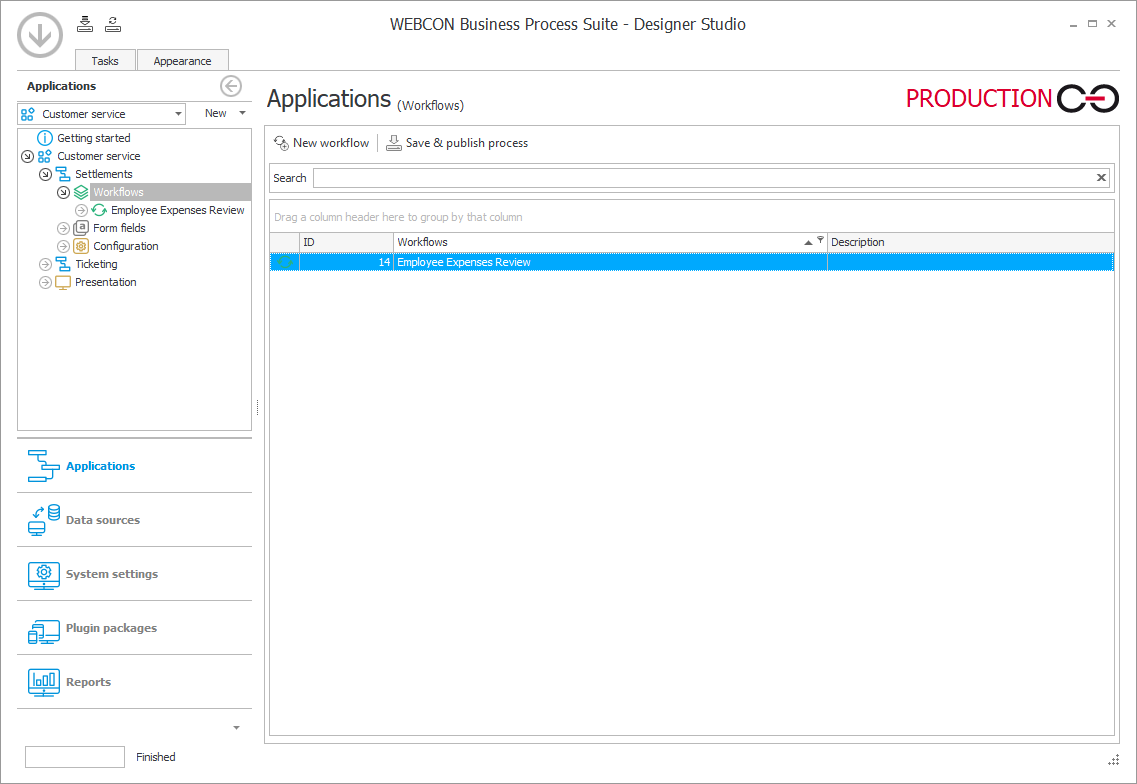
To access the workflow configuration window, select a specific workflow on the selection tree available on the left. Once it is selected, a configuration window opens. The window is divided into the following tabs:
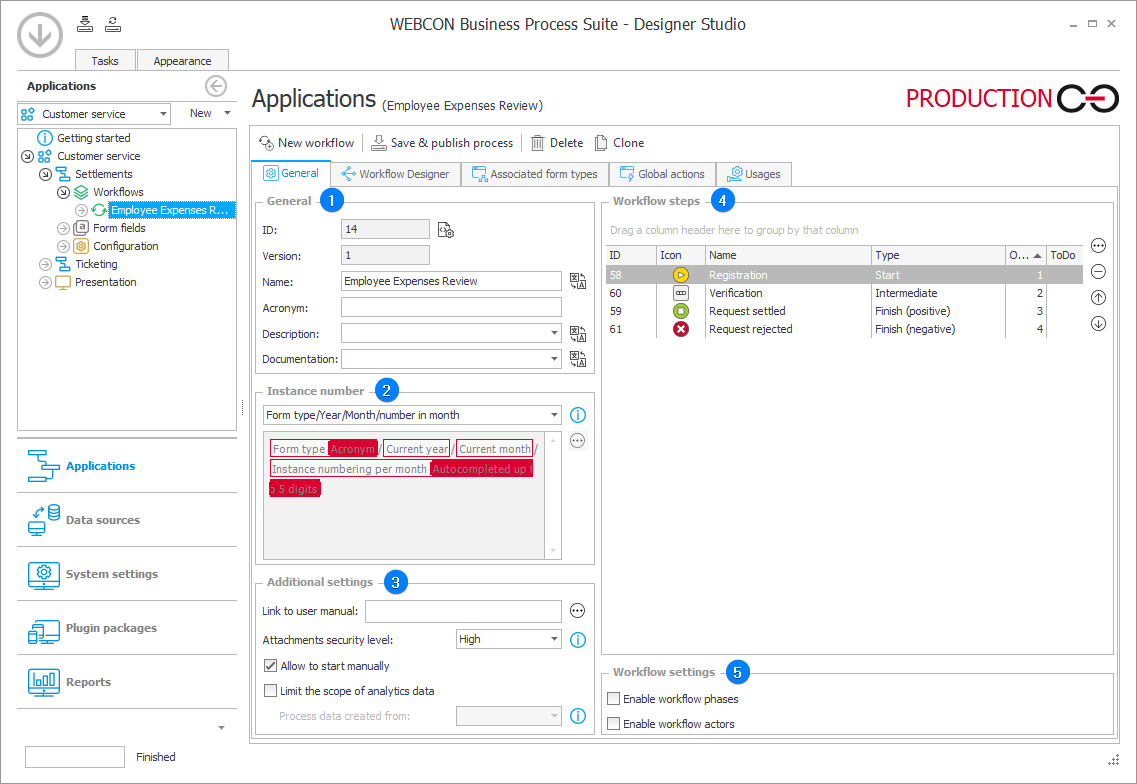
- General – general settings and workflow steps,
- Workflow designer – an editor used for creating workflows (steps, paths, actions, etc.),
- Associated form types – the tab allows you to specify the form type that can be created within a particular instance workflow,
- Global actions – the actions configured in this tab are available on each workflow step and be run cyclically.
General
The tab allows you to access general workflow configuration options and manage steps.

1. General
- ID – a unique number of a workflow created in WEBCON BPS Designer Studio.
- Version – uneditable field that contains a numerical value indicating the number of modifications incorporated in a workflow.
- Name – a text value displayed in an instance.
- Acronym – a short workflow name which facilitates identifying and locating a workflow in the system.
- Description – a brief description of a workflow. It can be displayed in an instance in Portal.
- Documentation – a description of a workflow intended use and an explanation of its configuration and operation.
In the Name, Description and Documentation fields, you can enter translations in different languages. The translations will be displayed according to the selected main language of Designer Studio and/or in Portal according to the language set there, and will also be included in the generated documentation. The translation window is available by clicking .
2. Instance number
The section allows you to select one of the predefined instance number definitions or create your own definition. Once you select a custom instance number, the expression edition field and the ellipsis button become active.
When you edit a workflow instance number or an instance type, an additional Instance number node appears on the expression editor selection tree. This node provides multiple numbering options, i.a. Continuous numbering, Numbering in form fields, Instance numbering per year.
3. Additional settings
- Link to user manual – the field allows you to specify a link that redirects to user manual. The link is visible in Portal's info panel.
- Attachments security level – defines the rights to delete attachments in current workflow documents. There are two options available from the drop-down list:
High – an attachment can be removed by an administrator or the individual who originally added it, solely within the corresponding step of its inclusion.
Low – all individuals with permissions to edit document can add and delete attachments. - Allow to start manually – the check box allows you to manually start a workflow using the start tile available on the application page in Portal, or in Designer Studio using the Start workflow in process button available in the contextual drop-down menu after right-clicking a workflow or process node. Unchecking the box means that the workflow can only be started using the Start a subworkflow or Start a subworkflow (SQL) action.
- Limit the scope of analytics data – parameter is used to limit the scope of processed data available in the Analytics reports. If this option is activated, all measures of analytical reports will not be calculated for workflow instances created before the given date.
4. Steps
A simplified (compared to the view available under the Workflow designer tab) view of the steps contained in a workflow. Use the buttons on the right to edit, rearrange, and delete steps.
Detailed information on workflow steps is provided in the Steps chapter.
5. Workflow settings
- Enable workflow phases – checking this box allows you to show workflow phases in the Workflow designer.
- Enable workflow actors – checking this box allows you to show workflow phases in the Workflow designer.