Outlook Classic
By integrating with Microsoft Outlook locally, the add-in allows tasks and processes to be handled from within the email application itself.
After starting MS Outlook, you can find three WEBCON Add-In buttons in the Home tab.
Show/hide – expands or collapses the main add-in window,
Profile settings – allows you to select and configure user profiles,
About this Add-In – displays information about the installed add-in and its version.
Profile settings
The panel allows you to select the profile that will be used to work with the add-in.
If you install the add-in from a correctly configured BPS site, a default user profile will automatically be added. If you install the add-in from another location which has no configured BPS feature, when you start the add-in for the first time, you will receive information about the absence of the selected profile. For the add-in to run properly, you must configure a user profile first.
A message about the absence of the selected profile will also appear whenever all user profiles are deleted.
Adding a profile
You can add a user profile in two ways:
-
Click the Add button in the message window (see above).
-
Go to the Profile settings tab and click Add.
The selected profile is always bold and has a check mark symbol on the left side. Clicking on the cogwheel icon allows you to modify the profile, while clicking on the trash can icon removes the selected profile.
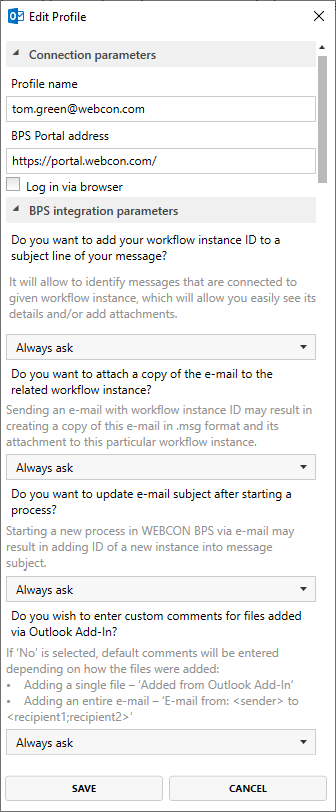
Then the profile editing window will be displayed, where you need to fill in the relevant parameters:

-
Enter the name that will identify your profile on the profile list in the settings.
-
Provide BPS Portal address – the Portal version must match the version of the installed add-in.
-
Complete BPS integration parameters, i.e. specify how the program should behave in the described cases. The program always asks by default if you want to make any changes.
ExampleFor example, when you send an email and you put the instance ID in its subject, the program will ask "Do you want to attach the copy of the email to the related workflow instance?".
You can save the changes or reject them. If you tick the Do not ask again checkbox, the program will remember this selection and will always proceed in the same way.
After saving the changes made, a new profile is added.
Login
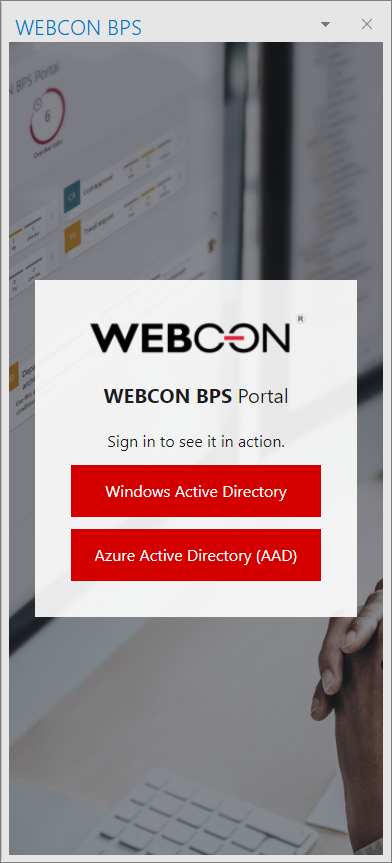
In order to use the add-in, it is necessary to log in to Portal from the add-in level.
To do this, select Show/Hide on the MS Outlook ribbon and enter your credentials.

Once logged in, your add-in is ready to use.