Administration tools
The window allows you to execute many advanced operations in Designer Studio. You can access them from the Designer Studio toolbar.

Search logs
The window allows you to search for logs using an SQL query and additionally filter the results.
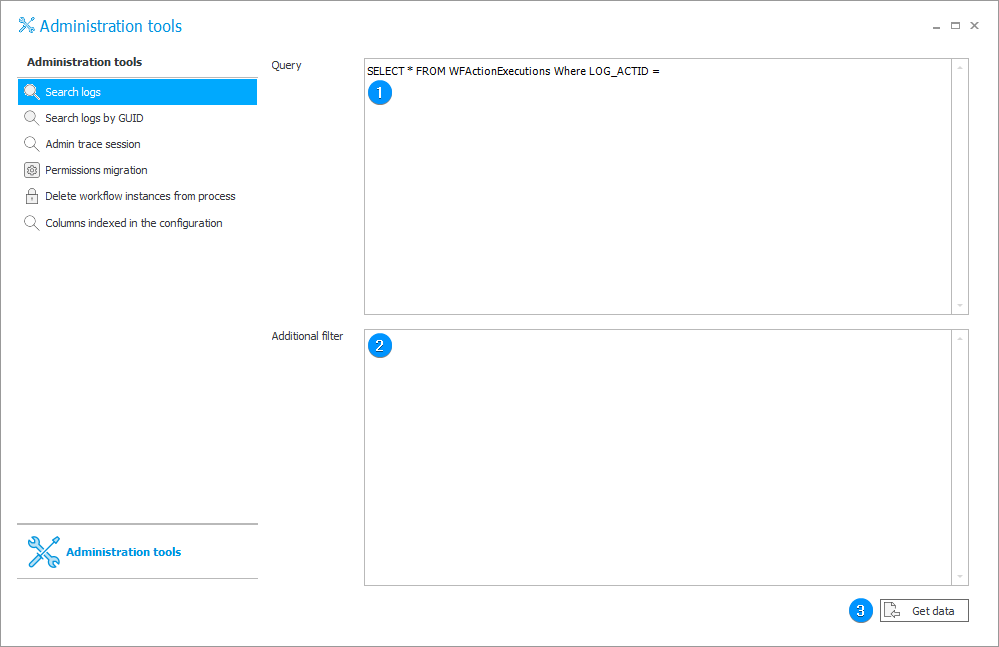
1. Query
A field to insert an SQL query that downloads process change logs. The logs are stored in a database connected with Designer Studio (by default, this is the BPS_Content database visible in the Designer Studio status bar).
The default query is:
SELECT * FROM WFActionExecutions Where LOG_ACTID =
By inserting an appropriate ID (e.g. an action ID) and clicking the Get data button you will get a full query result.
2. Additional filter
It is possible to put an additional filter to narrow down the results through an SQL condition.
You can narrow down query results only to the logs that were created after 10th May 2021:
LOG_TSInsert > '2021-05-10'.
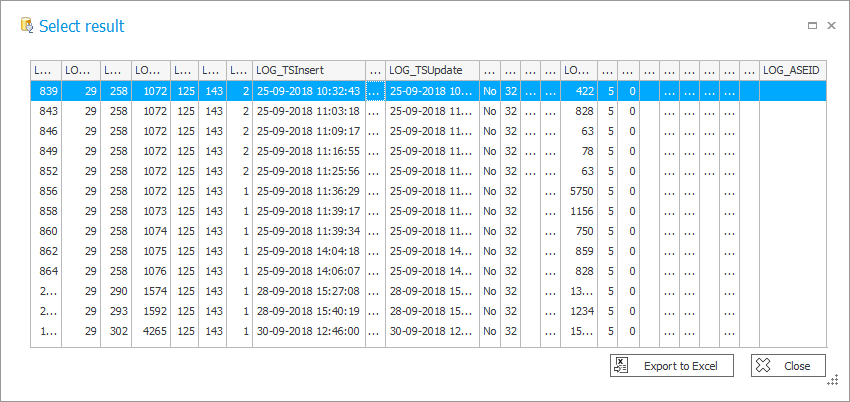
3. Get data
The button opens a window with query results presented in a tabular form that allows you to sort results by columns and export a report to an Excel file.
The window containing the query results:
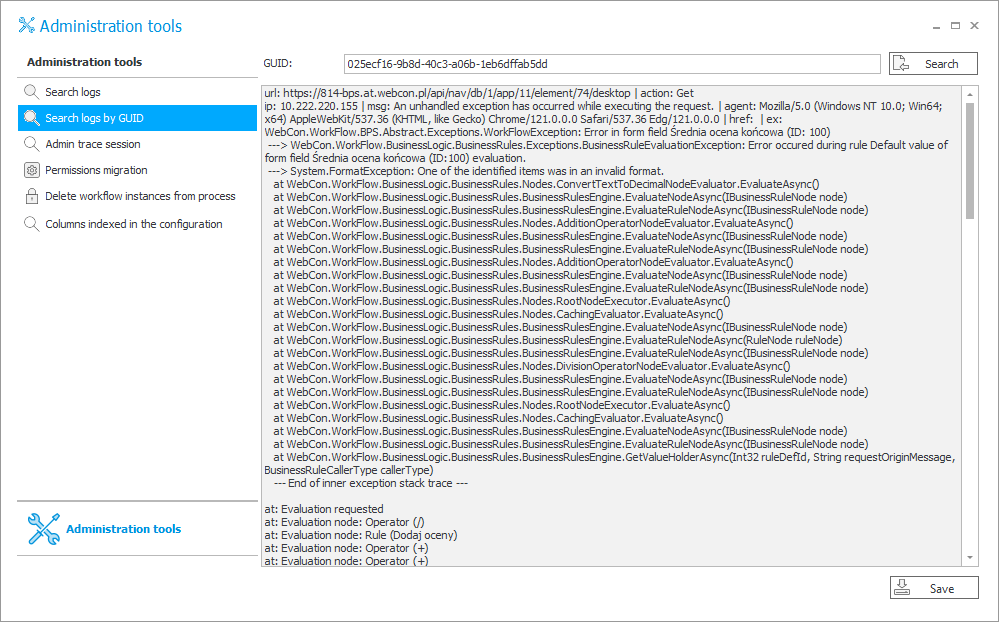
Search logs by GUID
The section allows you to display the full contents of an error log using the GUID number. To find an error log, copy the error GUID number (available in the Logger view window after running a diagnostic session in Portal) and paste it in the the GUID field. You will see the complete error log after clicking the Search button.
The contents of the log can then be saved as a text file by clicking the Save button in the lower right corner.
Admin trace session
The section contains a list of diagnostic sessions run in Portal. The data is presented in a table divided into three columns: Session identifier (GUID number), Date (when the diagnostic session was run), and User identifier (identifier of a user who run the diagnostic session). By clicking the session identifier you can open the session. The newly opened window also allows you to export the diagnostic session into a file (the Download button).
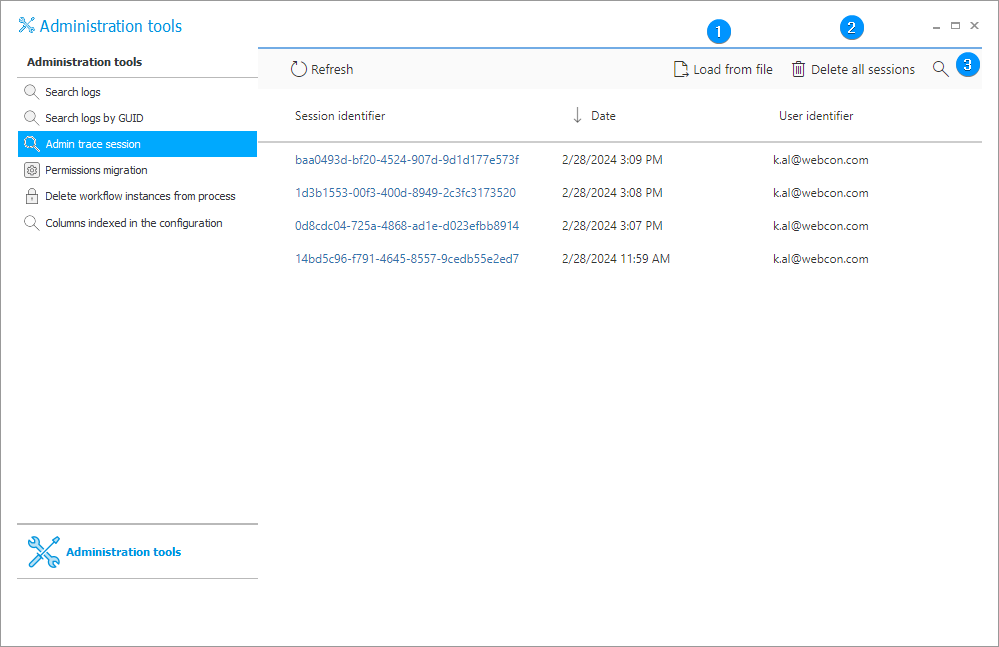
1. Load from file
By clicking the button you can load the diagnostic session that had been previously saved in a file.
2. Delete all sessions
The button removes all the diagnostic sessions displayed on the list.
3. Search
To facilitate finding specific diagnostic sessions there is a searching tool available in the upper, right corner (magnifying glass icon).
Permissions migration
Tool used for the migration of privileges between specified users.
After entering the source and target users, one of the two modes of operation can be used.
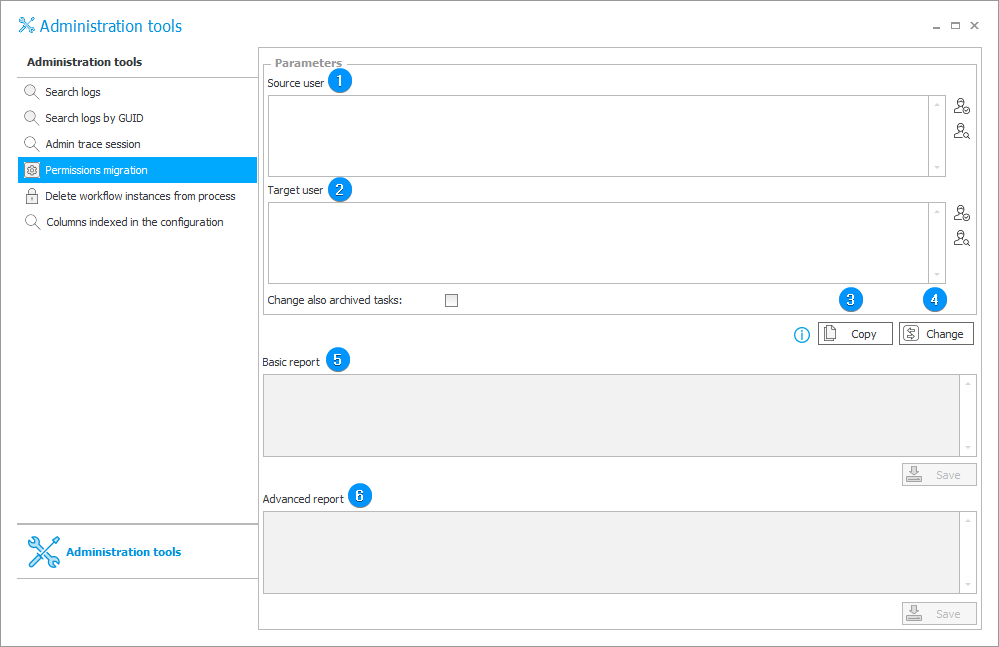
1. Source user
The privileges of a user entered in that field are copied or switched with a user entered in the Target user field.
You can enter the user manually or select them from the ActiveDirectory list. In the latter case, click the icon ![]() on the right.
on the right.
2. Target user
A user entered in that field obtains the privileges of the person entered in the Source user field by means of copying or switching.
You can enter the user manually or select them from the ActiveDirectory list. In the latter case, click the icon ![]() on the right.
on the right.
Additionally, it is possible to migrate privileges relating to archived tasks provided that the Change also archived tasks button has been checked.
3. Copy
The button allows you to copy the privileges of a user specified in the Source user field and assign them to the user specified in the Target user field. The copy operation includes the following privileges: global, at process level, assigned when associating form types with workflows, assigned individually to specific workflow instances. After copying, both users will have the same privileges.
4. Change
The button switches the following:
- users' privileges (global, at process level, assigned when associating form types with workflows, assigned individually to specific workflow instances),
- assigned tasks (also archived tasks if the Change also archived tasks checkbox is checked),
- form field privileges (manually entered visibility and editability permissions),
- path permissions (users manually assigned to tasks).
5. Basic report
A basic report on the copying or switching permissions. You can save it to a text file by clicking the Save button.
6. Advanced report
An advanced report on the copying or switching permissions. You can save it to a text file by clicking the Save button.
Additional information on migration of privileges is available in the ARTICLE on our technical blog.
Delete workflow instances from process
With this tool, it is possible to quickly and easily delete all instances associated with a process, and eventually remove an entire process completely.
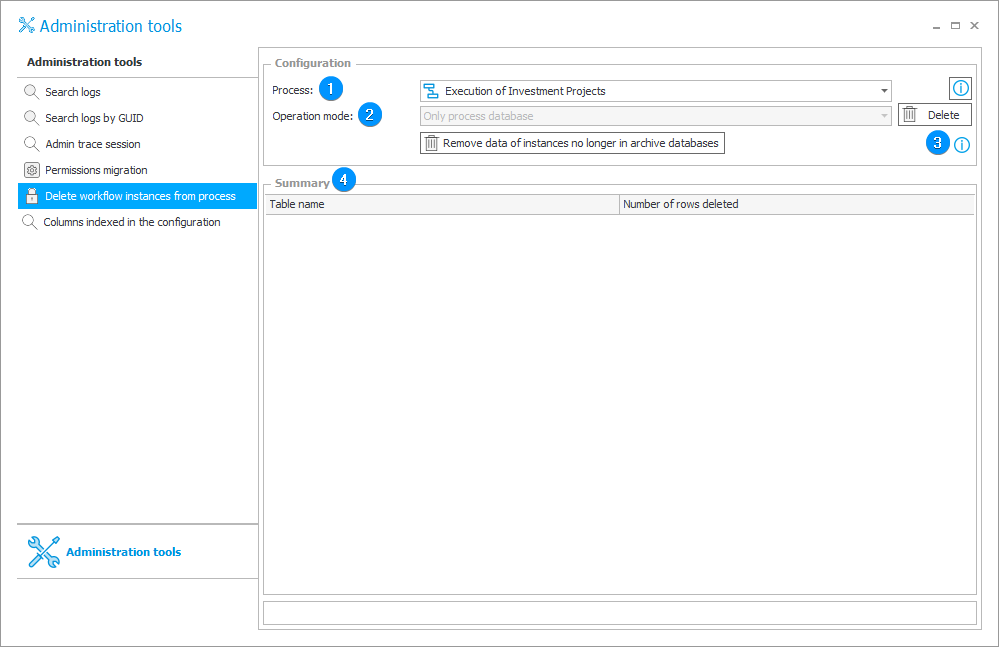
1. Process
The field allows you to select a process for which all associated instances will be deleted from the database.
2. Operation mode
This field allows you to choose which instances are to be deleted. Possible options:
- All workflow instances,
- Only process database,
- Only archive database.
Choosing the first option is tantamount to choosing the other two options together.
The Remove data of instances no longer in archive databases removes all data of workflow instances that have been removed from the database as a result of archiving actions.
This feature will clear information about workflow instances from all processes in the current content database.
3. Delete
The button deletes the instances of the specified process.
4. Summary��
The section contains a list displaying deleted items.
The Table name column shows name of a table whose data was deleted from the database.
The Number of rows deleted column presents the number of entries deleted from the specified column.
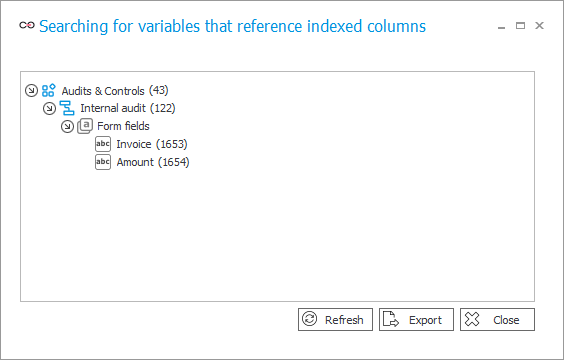
Columns indexed in the configuration
The tool allows you to locate where indexed columns are applied in the process configuration.
In the configuration of filters, business rules that use the SQL COMMAND function, and in various SQL queries, it is possible to use variables the reference column names in the database: Database field name. For choice fields these variables have additional variants that can return only the ID part or only the display name of the value.
In 2023 R2, indexed columns were added to WFElements table (containing all instances) that store the ID from selected choice fields separately. SQL queries that make use of the Database field name – ID variable (to return only the ID) started relying on these new indexed columns. This change improved performance significantly – instances could be found much faster via IDs from choice fields. However, there is one major implication. SQL queries that use these variables (and therefore use indexed columns) must compare their values to text values in expressions/comparisons.
Otherwise, running SQL queries with these variables may result in an error.
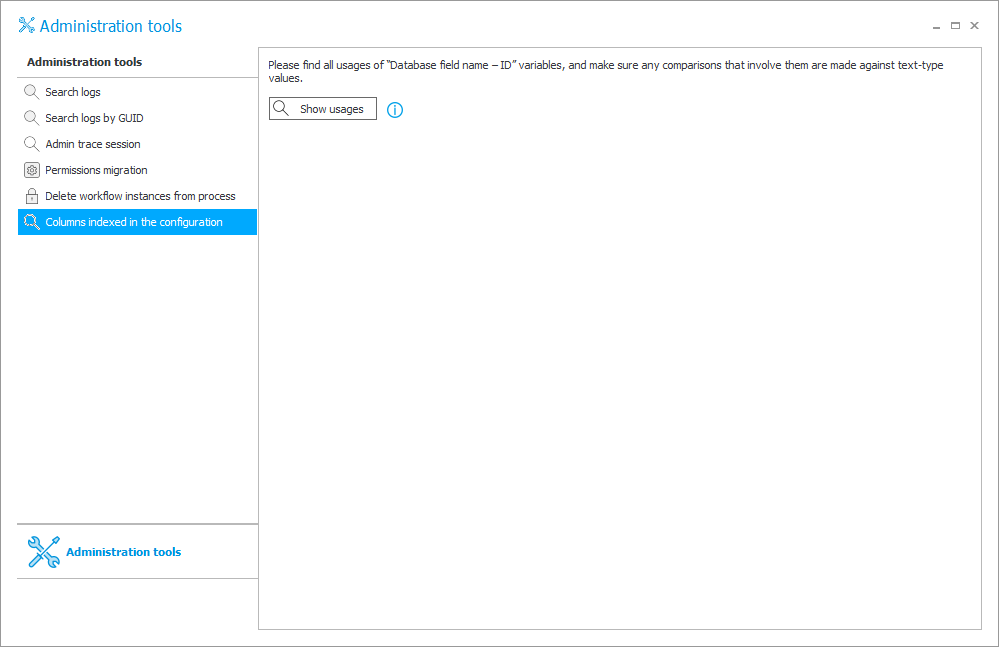
Pressing the Show usages button will display variables containing references to indexed columns in the form of a standard usage tree that can be exported to an Excel file.