My tasks
The functionality enables easy access to information on tasks assigned to you, your group, or those forwarded for your information.
Where are My tasks?
Always within your reach! You can access the functionality from anywhere in the Portal by clicking the My tasks button in the Navigation menu.
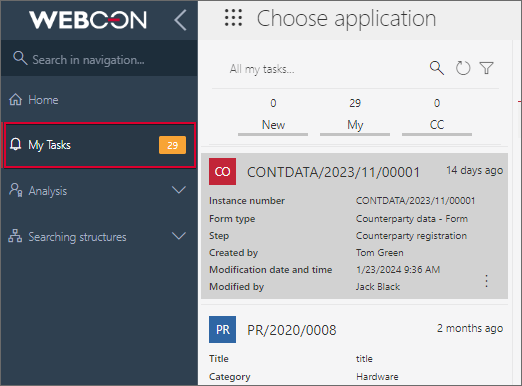
The My tasks button informs you of the number of tasks available. The number is given in the yellow square to the right of the button. However, please note that this information is only visible when you have assigned tasks.
Additionally, you can display the My Tasks page by clicking one of the elements in the Task counter widget. Depending on the type of the clicked element, the system will display new tasks, all active tasks, or overdue tasks.
The My tasks functionality works contextually, meaning the scope of presented information depends on the currently viewed Portal page. For instance, the number of active tasks displayed on the Portal home page will differ from the count presented after navigating to a specific application page; it will also vary among different applications.
After opening the Portal home page, the system presents all active tasks originating from all applications available to the user.
Tasks panel
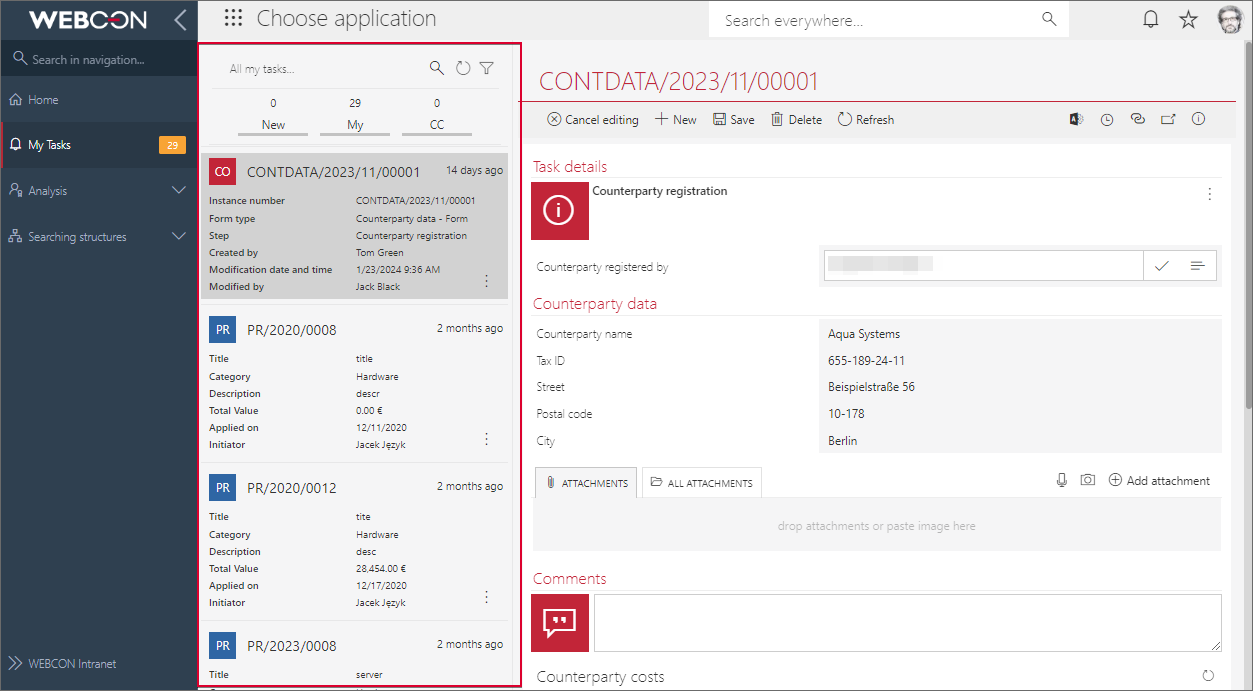
With the panel available on the right side of the My Tasks window, you can effortlessly display, filter, and browse your tasks which are presented here in a single-column table as tiles.
Task tiles
By default each tile contains the so-called distinguishers, i.e. fields with data regarding the tasks, e.g. Instance number, Step, Author, thanks to which you will quickly familiarize yourself with its context.

You can modify the selection of distinguishers available in the tile by choosing the relevant process on the selection tree and clicking the Comapct view tab.
Detailed information about the topic is available in the ARTICLE on the WEBCON Community page.
Clicking on the tile allows you to preview a specific workflow instance containing your task on the right side of the window (the selected tile is additionally greyed out). From there, you can manage this instance, e.g. by choosing a given path or editing the form.
Flagging a task
The tile also allows you to flag your task, i.e., set a proper icon that informs about the task status. To do so, simply click the reversed ellipsis button within the tile and select one of the available options:
- Mark Postponed – sets the
 icon that informs about postponing the deadline for the task execution,
 - Mark Flagged – sets the
 icon that signalizes a particularly important task.
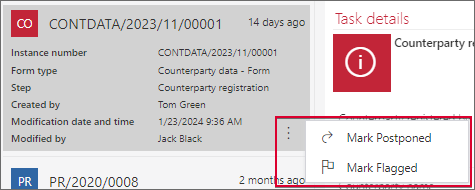
After choosing one of the options, the corresponding icon is displayed within the tile, the workflow instance, and in the Task system column (in reports). To delete it, click the reversed ellipsis again and select the Clear Flag button.
Managing tasks
The upper bar of the tasks panel contains three buttons that facilitate task management. With them you can:
- search for specific tasks using the built-in searchbox
 . After entering a given word, the search engine checks if it matches the information contained in the tile and filters the list,
 - refresh the list of tasks by clicking the
 button,
 - filter the tasks displayed on the list using the
 button. Pressing the button opens the context menu that allows you to filter your tasks according to flags, applications (available when the My Tasks page is displayed in the context of the Portal home page), and process, as well as sort them.
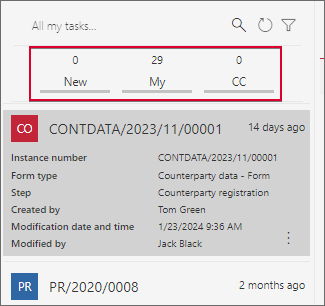
Quick filtering: New, My, CC
To quickly filter items of the tasks list, you can use the filtering buttons located just above the list. They allow you to display specific sets of tasks: use the New button to show only new (unopened) tasks, the My button for all active tasks, or the CC button to view instances containing tasks provided for your information. Furthermore, the number displayed above each button informs you about the count of tasks available after applying a specific filter.
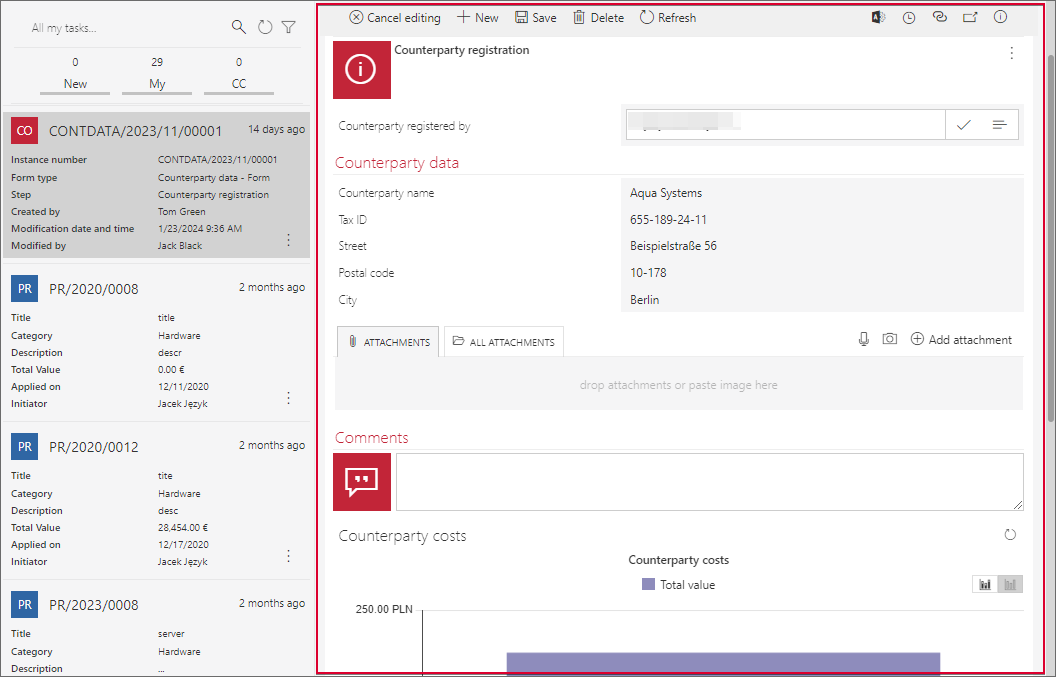
Form view
The preview of the form of the instance with the assigned task is displayed to the right of the Tasks panel. The view available here, although slightly smaller than the standard one, not only allows you to enter values in the form fields, but also provides access to all the options available in the regular view.
However, if you still want to display the instance in the full form view, you can click the Go to form page button (![]() ) that is provided in the top right corner of the window. It redirects you to the standard instance form window.
) that is provided in the top right corner of the window. It redirects you to the standard instance form window.