Translations
The names and text values of application configuration elements (processes, workflows, form fields, steps, paths, reports, etc.) can be translated into the languages defined in the settings. Translations of these elements can be added directly during their configuration in Designer Studio, collectively through the export and import of translations, or in Portal using the Process design or AI translations functionalities. After switching the interface language and confirming that all configuration elements have their foreign language equivalents, the application will be displayed entirely in the appropriate language version.
THIS ARTICLE describes the process of adding translations for application configuration elements using survey fields as an example.
Exporting translations
To export the translation package for the current application in Portal, follow the instructions below:
Step 1.
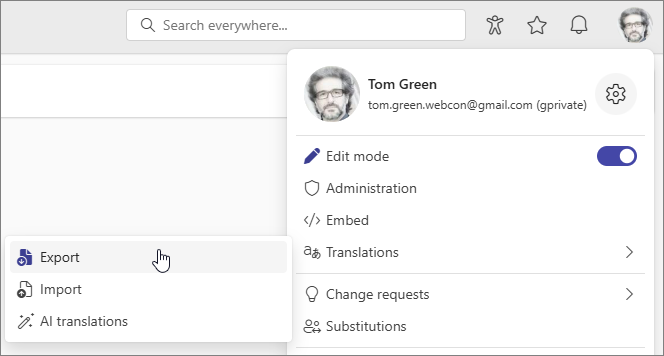
Click on the profile picture and select Translations → Export from the user menu.
Step 2.
The Export translations window will be displayed. In it, specify the target Language and the application Process to be translated.

After clicking the Export button, the translated content will be saved as an .xlsx file to the default location on your disk. A message will appear in the window confirming that the export was successful. Now you can close the window.
Step 3.
Edit the downloaded Excel file by adding the missing translations. Save your changes.

Changes should only be made in the target language column marked red, e.g. "de-DE". Modifying data in other columns may hinder the import of translations into the system.
Importing translations
To import the translation package for the current application from an Excel file in Portal, follow the instructions below:
Step 1.
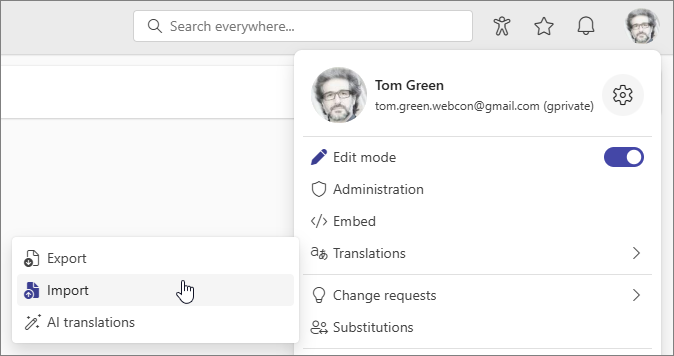
Click on the profile picture and select Translations → Import from the user menu.
Step 2.
In the Import translations window, click Choose file and choose the location of the .xlsx file with translations.
Confirm the operation by selecting Import.

Step 3.
After a short period, the window will display the message "Translations imported successfully. The page will be refreshed". Close this window to ensure that the translations load correctly on the application page.
For more information, see the article Export and import of translations in WEBCON BPS on our technical blog.
AI translations
The functionality is used to automatically translate the configuration elements and presentation layer (reports and dashboards) of an application using artificial intelligence.
Step 1.
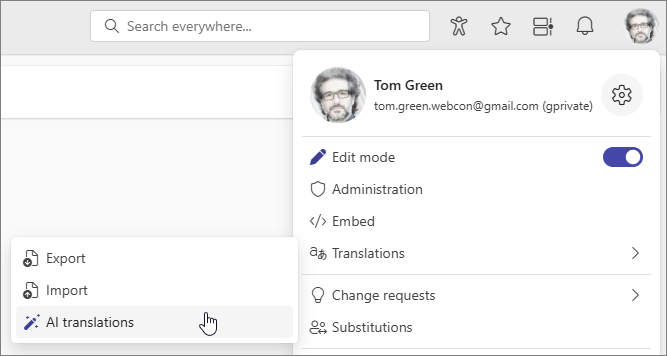
Click on the profile picture and select Translations → AI translations from the user menu.
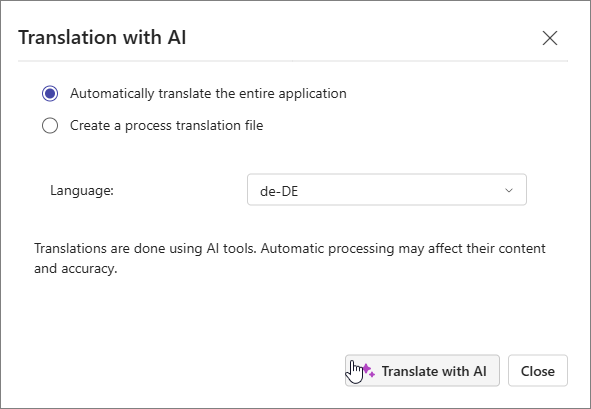
The Translation with AI window will appear with two options to choose from:
Automatically translate the entire application
With this functionality, the configuration elements of the application are automatically translated into the selected language (the list of available languages is determined by the Translation languages defined in the System settings of WEBCON BPS Designer Studio).
Step 2.
In the window that appears, select Automatically translate the entire application, specify Language, and confirm with Translate with AI.
The process of automatically translating configuration elements may take some time. Automatic processing may affect the content and accuracy of translations.
Step 3.
After switching the interface to the appropriate language, you can review the translations suggested by the AI and correct them if necessary.
Create a process translation file
This functionality creates a file with the process configuration elements, automatically adding a column with their translations in the selected language.
Step 2.
In the window that appears, select Create a process translation file, specify Language and Process, and confirm with Translate with AI.

After a while, an MS Excel file with translations of the process configuration elements is downloaded to the local disk.
If the process configuration elements already had translations in the selected language, they will not be overwritten by the automatic translations. The values translated by AI in the file are marked in blue to distinguish them.

Step 3.
You can freely correct the translations suggested by the AI in the file and then load the changed file using the standard translation import function.
You can read more about AI translations in the article New AI solutions in WEBCON BPS on our technical blog.